在 Ionic + Angular 应用中使用 Firebase 推送通知
Web 框架: Angular
平台支持: iOS, Android
推送通知是应用开发者最常为用户提供的功能之一。本教程将完整演示如何在 iOS 和 Android 上配置 Firebase 云消息推送。
我们将使用 Capacitor 推送通知 API,在 Ionic + Angular 应用中实现 Firebase 推送通知的注册和监听功能。
必要依赖
使用 Capacitor 构建和部署 iOS/Android 应用需要先完成基础环境配置。请先按照环境设置指南安装必要依赖。
注意:
- iOS 推送通知测试需要付费的 Apple 开发者账号
- 如果使用了其他依赖 Firebase SDK 的 Cordova 插件,请确保它们是最新版本
准备 Ionic Capacitor 应用
已有 Ionic 应用的开发者可跳过本节。新建应用的步骤如下:
在终端中安装最新版 Ionic CLI:
npm install -g @ionic/cli
使用 CLI 创建一个基于 空白�模板 的 Ionic Angular 应用(命名为 capApp):
ionic start capApp blank --type=angular
创建成功后进入项目目录:
cd capApp/
最后修改 capacitor.config.ts 中的 appId:
const config: CapacitorConfig = {
- appId: 'io.ionic.starter',
+ appId: 'com.mydomain.myappnam',
  appName: 'capApp',
  webDir: 'www'
};
构建应用并添加平台
添加原生平台前必须先构建应用,这会生成 Capacitor 所需的 web 资源目录(Ionic Angular 项目中是 www 文件夹)。
ionic build
然后添加 iOS 和 Android 平台:
ionic cap add ios
ionic cap add android
执行后会在项目根目录生成 android 和 ios 文件夹,这些是完整的原生项目(建议纳入版本控制)。
使用 Capacitor 推送通知 API
首先安装 Capacitor 推送通知插件:
npm install @capacitor/push-notifications
npx cap sync
在集成 Firebase 之前,我们需要确保应用能通过 Capacitor API 注册推送通知。同时在收到通知时通过 alert 显示通知内容(调试时可用 console.log 替代)。
在 home.page.ts 中添加导入语句:
import {
  ActionPerformed,
  PushNotificationSchema,
  PushNotifications,
  Token,
} from '@capacitor/push-notifications';
然后添加 ngOnInit() 方法实现通知注册和监听逻辑:
export class HomePage implements OnInit {
  ngOnInit() {
    console.log('初始化主页');

    // 请求推送通知权限
    // iOS 会弹出权限请求框
    // Android 会自动授权
    PushNotifications.requestPermissions().then(result => {
      if (result.receive === 'granted') {
        // 向 Apple/Google 注册推送服务
        PushNotifications.register();
      } else {
        // 处理权限被拒情况
      }
    });

    // 注册成功监听
    PushNotifications.addListener('registration',
      (token: Token) => {
        alert('推送注册成功,令牌: ' + token.value);
      }
    );

    // 注册失败监听
    PushNotifications.addListener('registrationError',
      (error: any) => {
        alert('注册错误: ' + JSON.stringify(error));
      }
    );

    // 应用在前台时接收通知
    PushNotifications.addListener('pushNotificationReceived',
      (notification: PushNotificationSchema) => {
        alert('收到推送: ' + JSON.stringify(notification));
      }
    );

    // 点击通知监听
    PushNotifications.addListener('pushNotificationActionPerformed',
      (notification: ActionPerformed) => {
        alert('推送操作触发: ' + JSON.stringify(notification));
      }
    );
  }
}
完整版 home.page.ts 代码如下:
import { Component, OnInit } from '@angular/core';

import {
  ActionPerformed,
  PushNotificationSchema,
  PushNotifications,
  Token,
} from '@capacitor/push-notifications';

@Component({
  selector: 'app-home',
  templateUrl: 'home.page.html',
  styleUrls: ['home.page.scss'],
})
export class HomePage implements OnInit {
  ngOnInit() {
    console.log('初始化主页');

    PushNotifications.requestPermissions().then(result => {
      if (result.receive === 'granted') {
        PushNotifications.register();
      }
    });

    PushNotifications.addListener('registration', (token: Token) => {
      alert('推送注册成功,令牌: ' + token.value);
    });

    PushNotifications.addListener('registrationError', (error: any) => {
      alert('注册错误: ' + JSON.stringify(error));
    });

    PushNotifications.addListener(
      'pushNotificationReceived',
      (notification: PushNotificationSchema) => {
        alert('收到推送: ' + JSON.stringify(notification));
      },
    );

    PushNotifications.addListener(
      'pushNotificationActionPerformed',
      (notification: ActionPerformed) => {
        alert('推送操作触发: ' + JSON.stringify(notification));
      },
    );
  }
}
完成代码修改后执行:
ionic build
npx cap copy
在 Firebase 中创建项目
前往 Firebase 控制台 点击 添加项目。
输入项目名称,接受服务条款后点击 创建项目,系统会自动生成项目 ID。
Android 配置
集成 Firebase
进入项目概览页,点击顶部的 Android 图标添加应用:
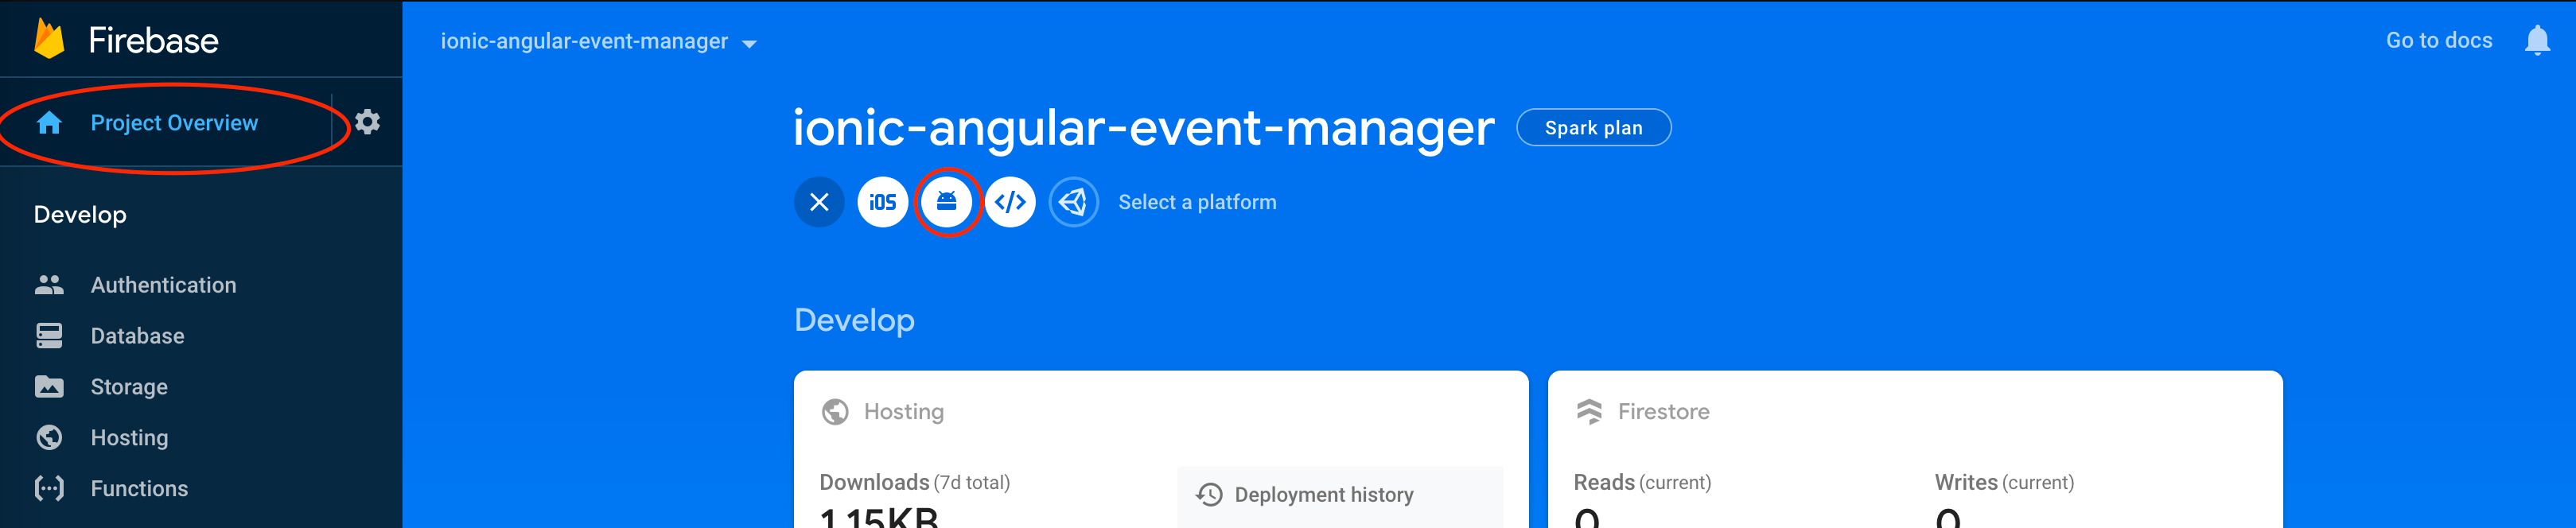
填写应用信息:
- Android 包名 需与
capacitor.config.ts中的 appId 一致 - 这里我们使用
com.mydomain.myappname - 昵称和调试签名证书可选
点击 注册应用。
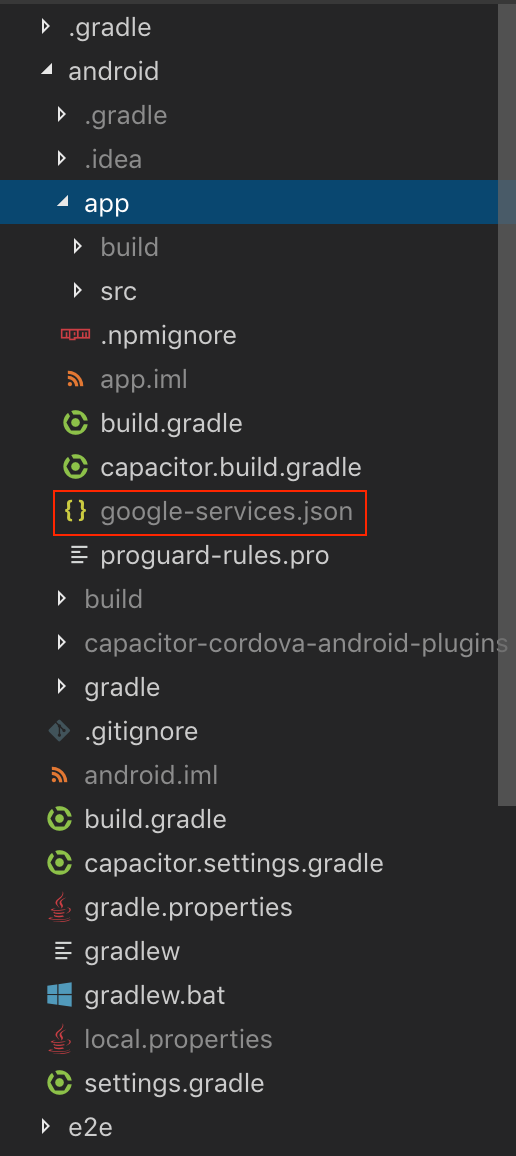
配置 google-services.json
下载提供的 google-services.json 文件,将其放入 Android 项目目录:
android/app/
注意:@capacitor/push-notifications 已自动包含 firebase-messaging 依赖。
iOS 配置
前提条件
iOS 推送通知配置比 Android 复杂,必须:
- 在 Apple 开发者门户配置开发/生产证书和配置文件
- 创建 APNS 证书或密钥
- 在 Xcode 中启用推送通知能力
集成 Firebase
在 Firebase 项目概览页点击 添加应用 选择 iOS 平台。
填写应用信息:
- iOS 包 ID 需与
capacitor.config.ts中的 appId 一致 - 同样使用
com.mydomain.myappname - 应用昵称和应用商店 ID 可选
点击 注册应用。
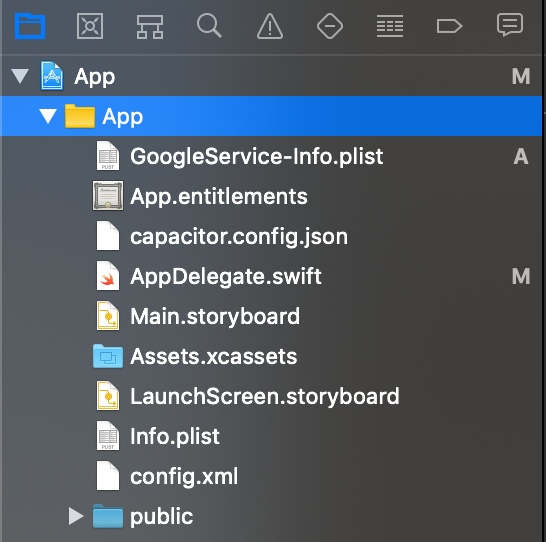
添加 GoogleService-Info.plist
下载提供的 GoogleService-Info.plist 文件(与 Android 不同)。
打开 Xcode 项目:
npx cap open ios
将 .plist 文件拖入 Xcode 项目,确保添加到所有 target:
通过 CocoaPods 添加 Firebase SDK
修改 Podfile(在 Xcode 的 Pods 目录下):
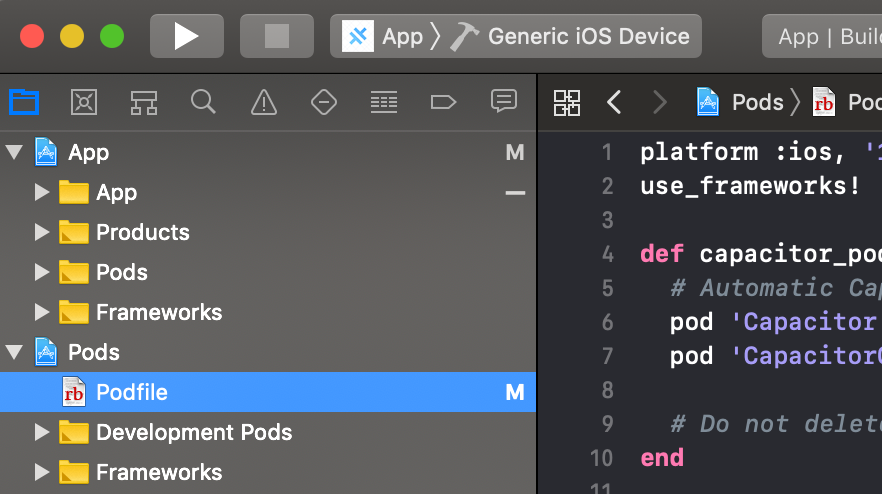
在 App target 部分添加:
target 'App' do
  capacitor_pods
  pod 'FirebaseMessaging' # 添加这行
end
完整 Podfile 示例:
require_relative '../../node_modules/@capacitor/ios/scripts/pods_helpers'

platform :ios, '14.0'
use_frameworks!

install! 'cocoapods', :disable_input_output_paths => true

def capacitor_pods
  pod 'Capacitor', :path => '../../node_modules/@capacitor/ios'
  pod 'CapacitorCordova', :path => '../../node_modules/@capacitor/ios'
  pod 'CapacitorApp', :path => '../../node_modules/@capacitor/app'
  pod 'CapacitorHaptics', :path => '../../node_modules/@capacitor/haptics'
  pod 'CapacitorKeyboard', :path => '../../node_modules/@capacitor/keyboard'
  pod 'CapacitorPushNotifications', :path => '../../node_modules/@capacitor/push-notifications'
  pod 'CapacitorStatusBar', :path => '../../node_modules/@capacitor/status-bar'
end

target 'App' do
  capacitor_pods
  pod 'FirebaseMessaging'
end

post_install do |installer|
  assertDeploymentTarget(installer)
end
更新项目
执行更新(可能需要较长时间下载依赖):
npx cap update ios
添加初始化代码
在 AppDelegate.swift 顶部添加:
import FirebaseCore
import FirebaseMessaging
然后在 application(didFinishLaunchingWithOptions) 方法中添加:
FirebaseApp.configure()
添加推送注册处理方法:
func application(_ application: UIApplication, didRegisterForRemoteNotificationsWithDeviceToken deviceToken: Data) {
  Messaging.messaging().apnsToken = deviceToken
  Messaging.messaging().token(completion: { (token, error) in
    if let error = error {
        NotificationCenter.default.post(name: .capacitorDidFailToRegisterForRemoteNotifications, object: error)
    } else if let token = token {
        NotificationCenter.default.post(name: .capacitorDidRegisterForRemoteNotifications, object: token)
    }
  })
}

func application(_ application: UIApplication, didFailToRegisterForRemoteNotificationsWithError error: Error) {
  NotificationCenter.default.post(name: .capacitorDidFailToRegisterForRemoteNotifications, object: error)
}
完整 AppDelegate.swift 示例:
import UIKit
import Capacitor
import FirebaseCore
import FirebaseMessaging

@UIApplicationMain
class AppDelegate: UIResponder, UIApplicationDelegate {

  var window: UIWindow?

  func application(_ application: UIApplication, didFinishLaunchingWithOptions launchOptions: [UIApplication.LaunchOptionsKey: Any]?) -> Bool {
    FirebaseApp.configure()
    return true
  }

  func application(_ application: UIApplication, didRegisterForRemoteNotificationsWithDeviceToken deviceToken: Data) {
    Messaging.messaging().apnsToken = deviceToken
    Messaging.messaging().token(completion: { (token, error) in
      if let error = error {
          NotificationCenter.default.post(name: .capacitorDidFailToRegisterForRemoteNotifications, object: error)
      } else if let token = token {
          NotificationCenter.default.post(name: .capacitorDidRegisterForRemoteNotifications, object: token)
      }
    })
  }

  func application(_ application: UIApplication, didFailToRegisterForRemoteNotificationsWithError error: Error) {
    NotificationCenter.default.post(name: .capacitorDidFailToRegisterForRemoteNotifications, object: error)
  }
上传 APNS 证书/密钥到 Firebase
在 Apple 开发者门户创建 APNS 证书或密钥后,需要上传到 Firebase:
- 进入项目概览页,选择 iOS 应用后点击 设置 齿轮图标
- 进入 Cloud Messaging 标签页
- 在 iOS 应用配置 部分上传证书/密钥
发送测试通知
现在可以验证推送通知功能了!
打开项目:
npx cap open android # 或 ios
将应用安装到设备上运行。注意 iOS 需要允许通知权限。
如果注册成功,会看到提示消息。
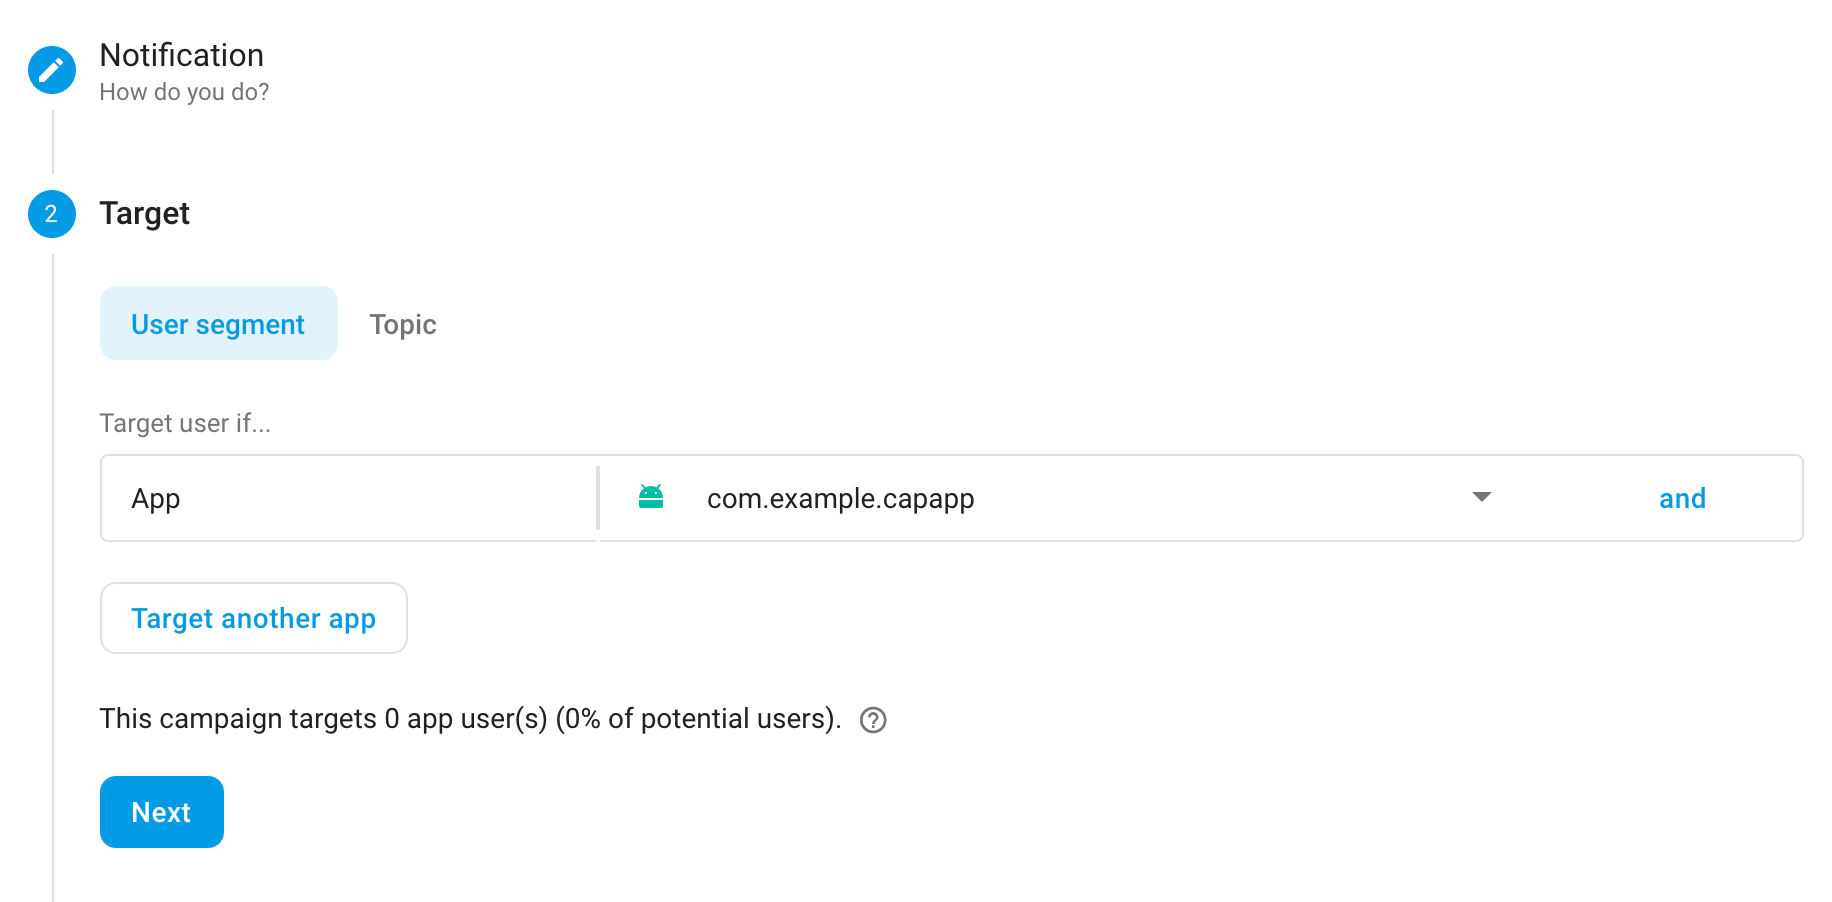
在 Firebase 控制台的 Cloud Messaging 部分:
- 点击 新建通知
- 填写通知文本和标题(Android 必填)
- 选择目标(建议直接选择 iOS/Android 应用)
- 保持立即发送
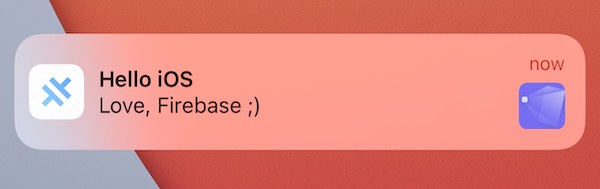
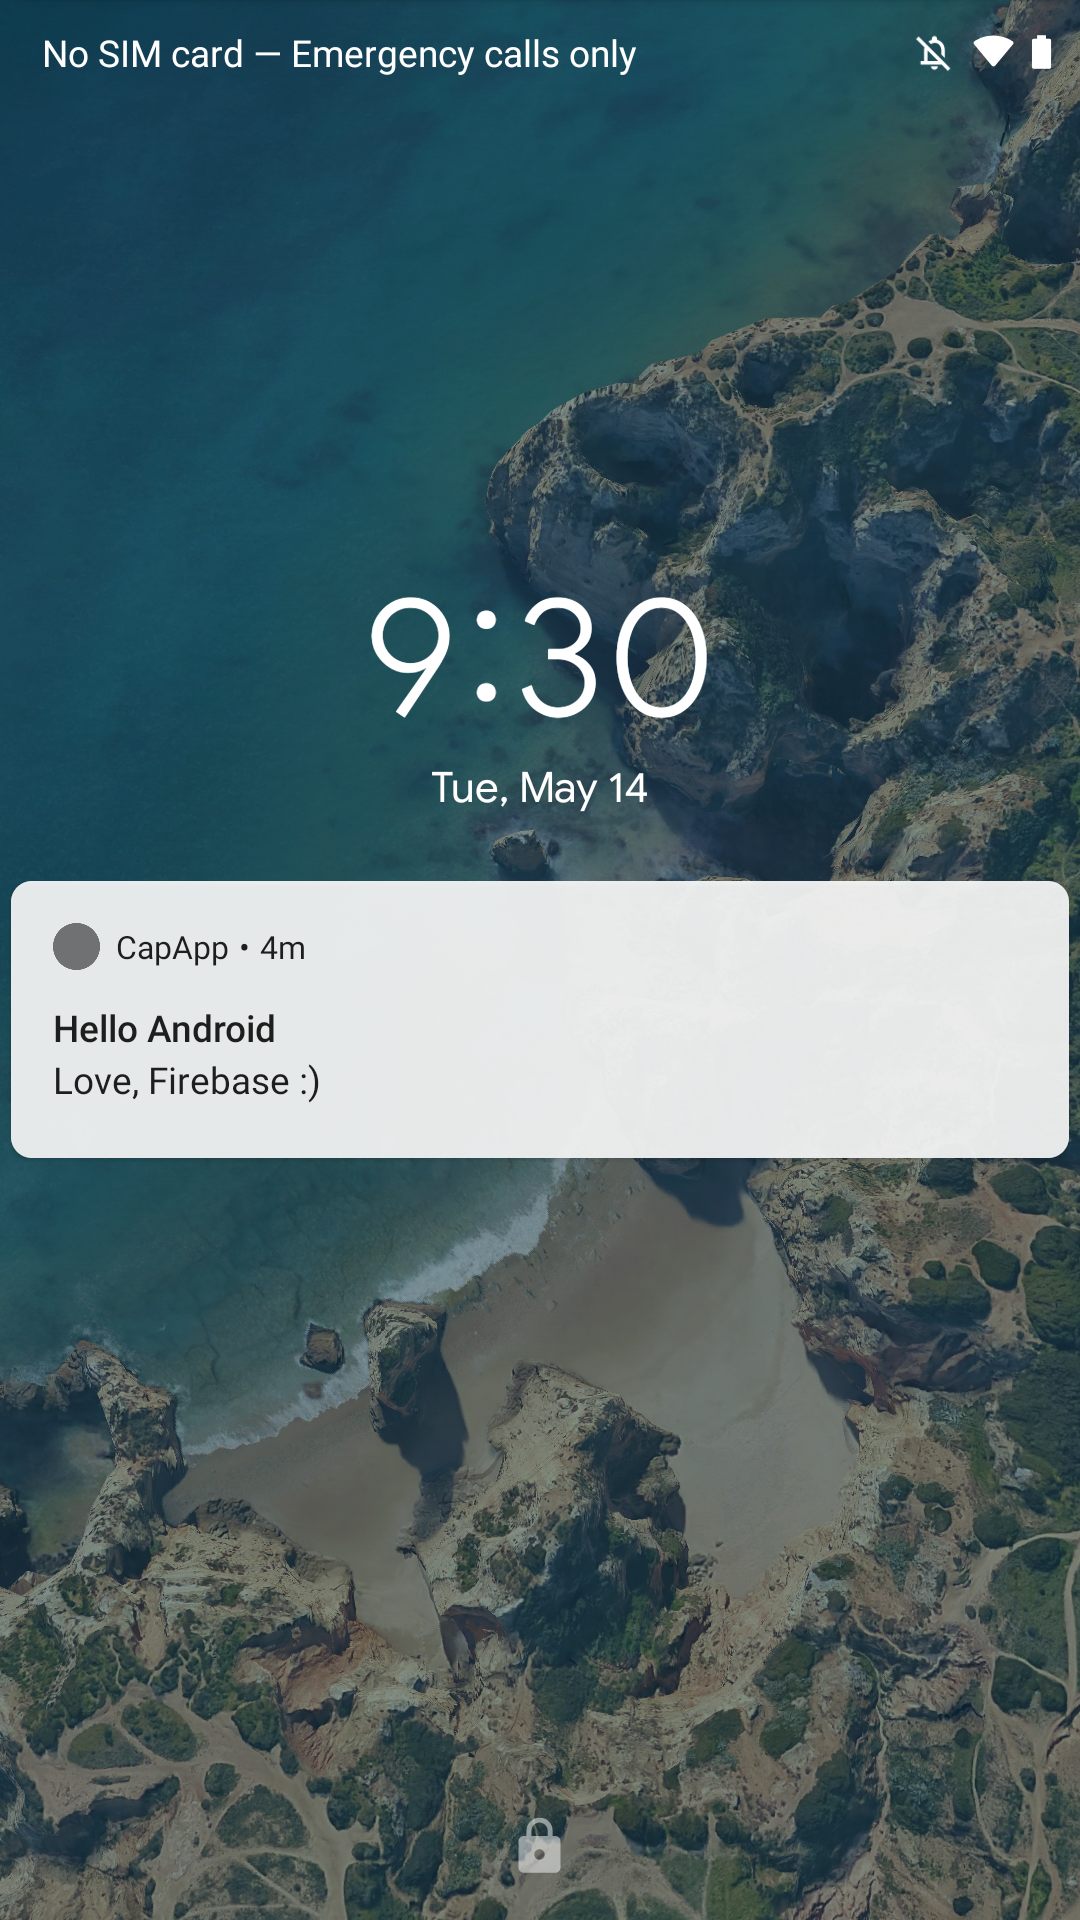
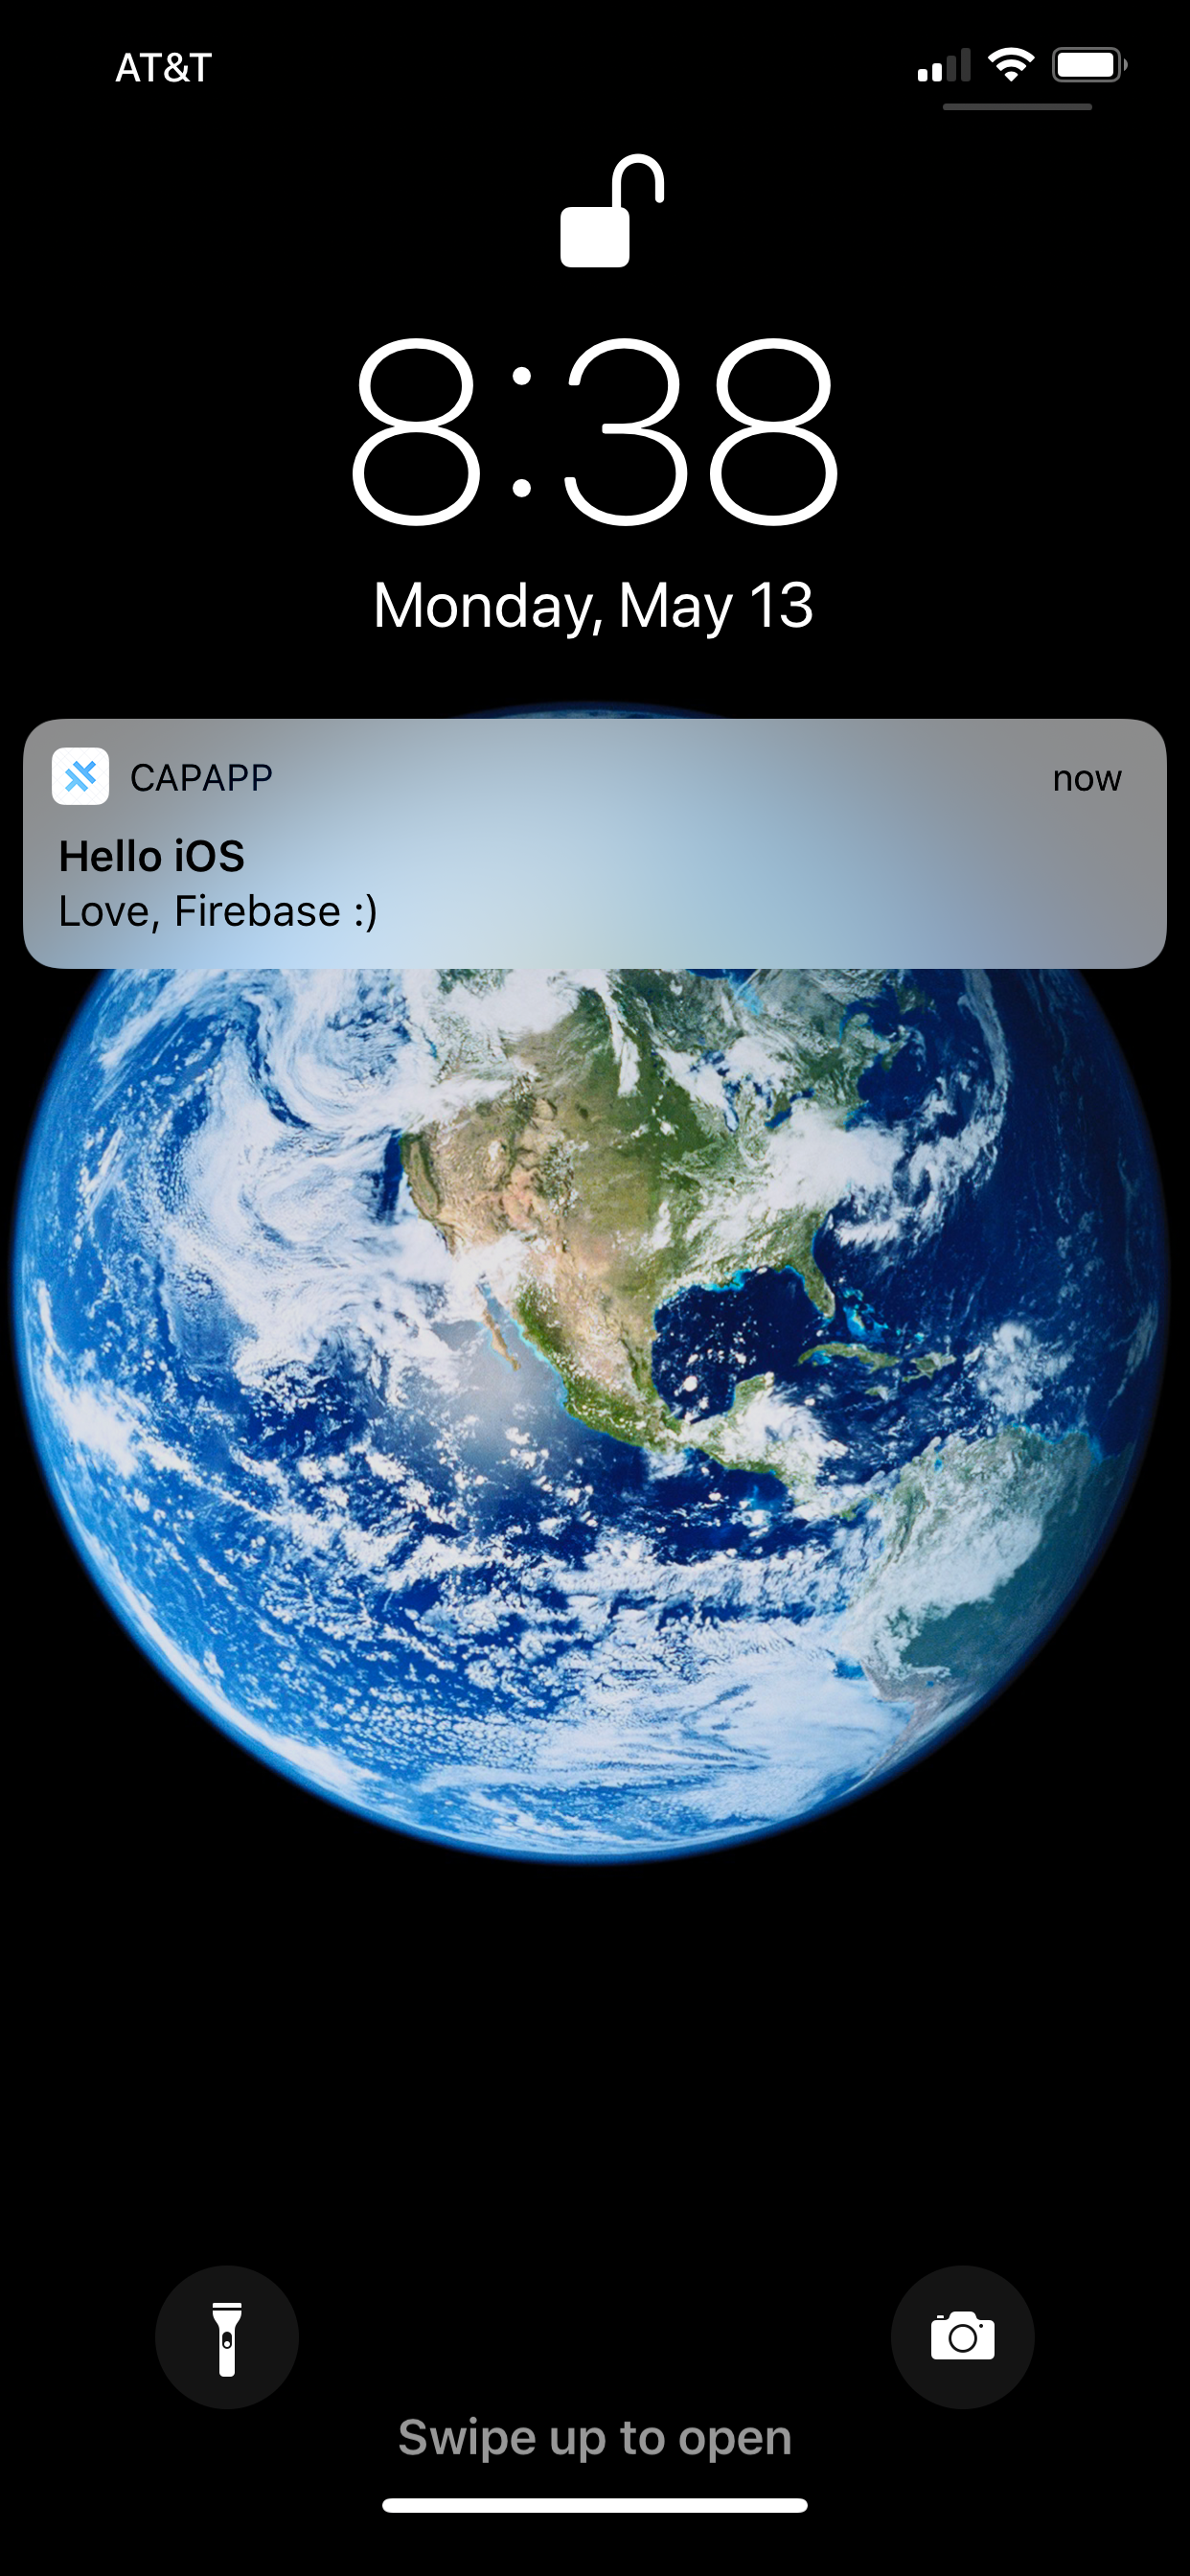
发布通知后,设备会收到提示:
带图片的推送通知
可按以下指南实现带图片的推送通知。
Firebase 消息 SDK 支持通过 ImageUrl 属性附加图片,要求:
- 使用 HTTPS 链接
- 图片小于 300KB
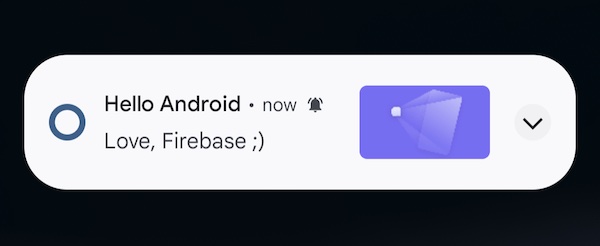
Android 图片通知
Android 会自动显示图片通知。在 Firebase 控制台 测试时设置 Notification image 即可:
iOS 图片通知
iOS 需要添加 通知服务扩展。
在 Xcode 中:
- 点击
文件>新建>Target - 选择
Notification Service Extension点击下一步 - 输入产品名(如
pushextension) - 选择团队
- 点击
完成并激活
选择 pushextension target:
- 进入
Signing & Capabilities - 添加
Push Notifications能力 - 将部署��目标从
iOS 16.4改为iOS 14.0
不修改部署目标会导致旧版 iOS 无法显示图片
修改 Podfile 添加:
target 'pushextension' do
  pod 'FirebaseMessaging'
end
更新 CocoaPods:
npx cap update ios
修改 NotificationService.swift(位于 pushextension 目录):
import UserNotifications
import FirebaseMessaging

class NotificationService: UNNotificationServiceExtension {
    var contentHandler: ((UNNotificationContent) -> Void)?
    var bestAttemptContent: UNMutableNotificationContent?

    override func didReceive(_ request: UNNotificationRequest, withContentHandler contentHandler: @escaping (UNNotificationContent) -> Void) {
        guard let content = request.content.mutableCopy() as? UNMutableNotificationContent else { return }
        self.contentHandler = contentHandler
        self.bestAttemptContent = content

        FIRMessagingExtensionHelper().populateNotificationContent(content, withContentHandler: contentHandler)
    }

    override func serviceExtensionTimeWillExpire() {
        guard let contentHandler = contentHandler,
              let bestAttemptContent =  bestAttemptContent else { return }

        contentHandler(bestAttemptContent)
    }
}
测试时在 Firebase 控制台 设置 Notification image,效果如下: